
When I travel to Ghana next time, we are planning to set up another small organic craft bean to bar chocolate factory, near Kumasi, so I thought it would be helpful to outline the process here.
Following a 9-step process from harvesting, fermenting, drying, roasting, grinding, conching, to tempering, and molding and wrapping we should be able to make chocolate from organic bean to bar craft chocolate in origin.
 Step1: Harvesting
After selecting and planting stronge, healthy saplings, weeding and nourishing them for three to four years, you should have some fruit ready for harvesting.
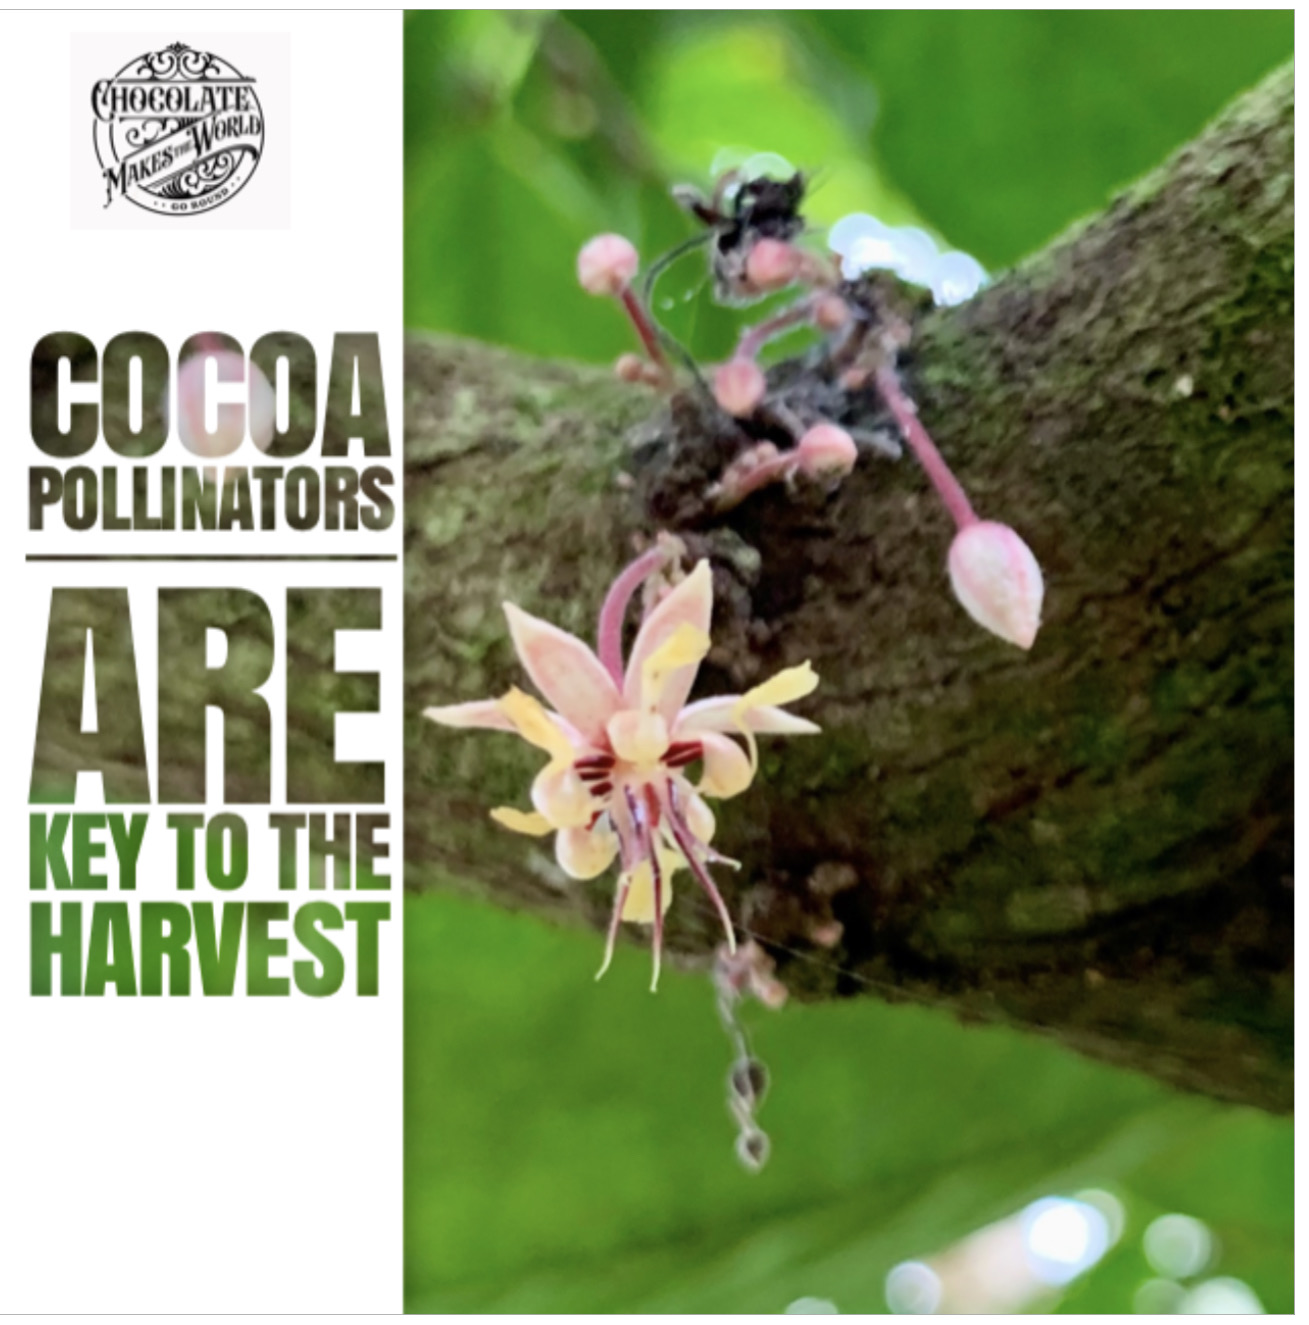
To harvest the pods, most farmers use a machete or a go-to-hell (long stick with a knife on the end) to remove them from the tree without damaging the tree’s flower pad; this ensures more pods can grow from the same pad next season.
Opening the cocoa pod using the machete, a stone or a wooden club is normal.
Once open, you can see the beans, covered in white fleshy ‘mucilage’ (aka baba) which is sweet and sticky. This mucilage can be eaten as-is or blended with water into a refreshing ‘cocoa juice’.
The flavour is sweet-citrus/acidic and has similarities with soursop.
The bean inside is fairly ‘wet’ looking with a purple colour, and brain-like appearance when you cut into it due to all the individual nibs inside.
The raw cocoa beans are very bitter and unpleasant at this stage, we need to process them further.
 Step 2: Fermenting
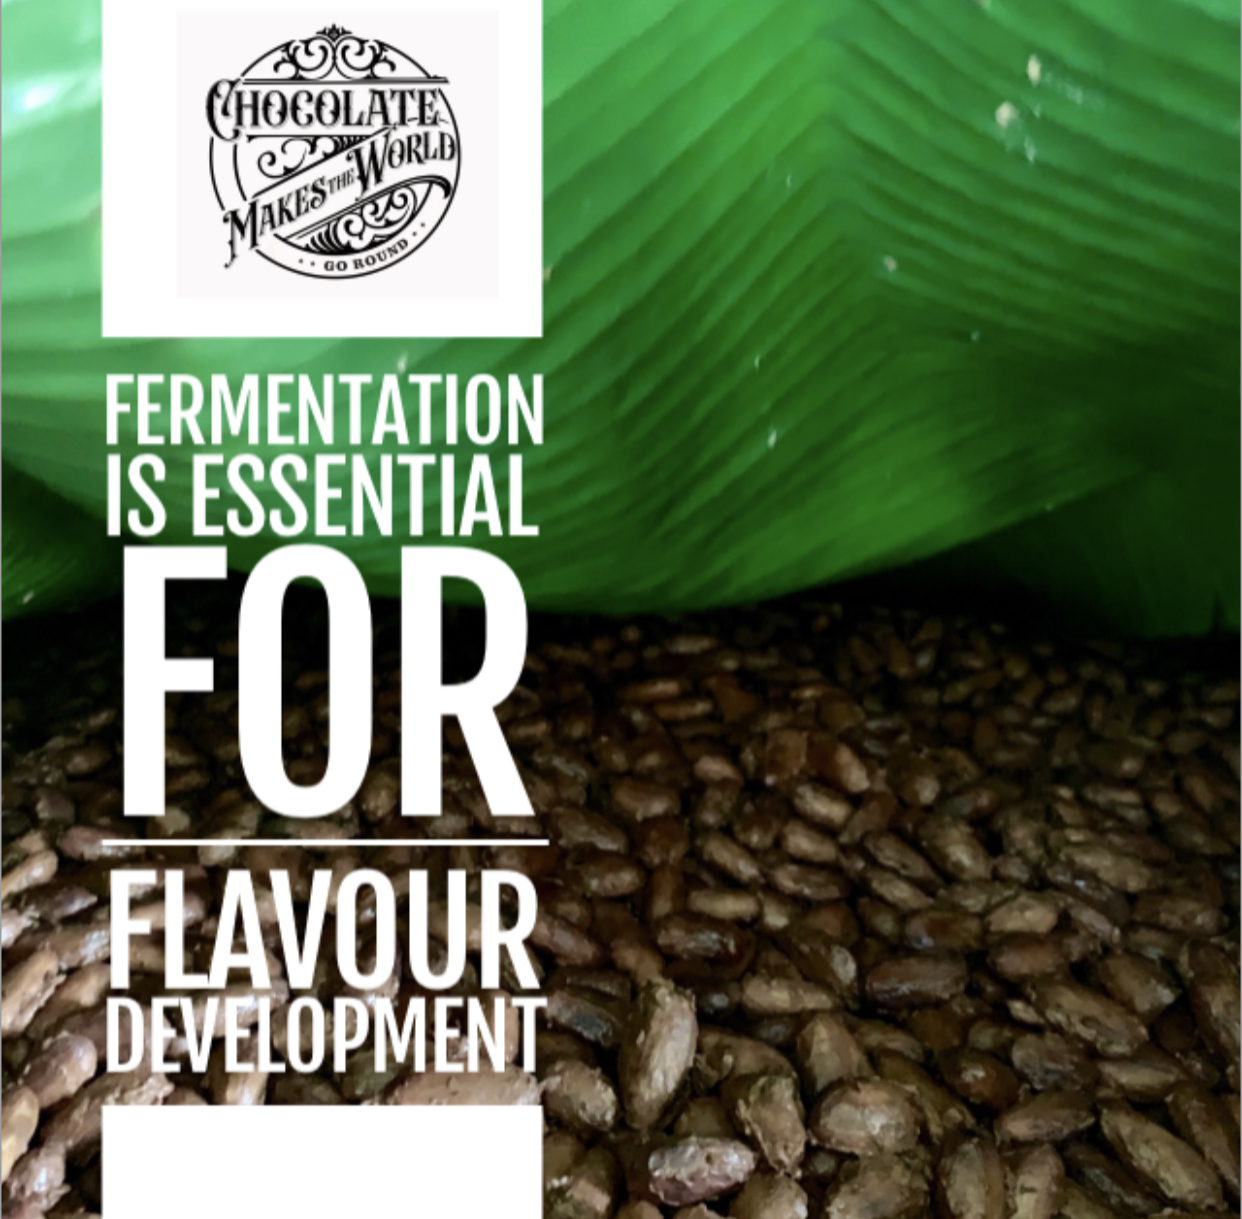
Once the beans are exposed to oxygen, they start to turn brown. The fermentation process can begin once the beans are covered with banana leaves or placed in perforated wooden boxes (for airflow), lined and topped with banana leaves, and turned occasionally.
As they ferment, the temperature of the beans will naturally rise to between 40-50ºC, encouraging the fermentation process.
Chocolate made with unfermented beans doesn’t have the same richness or ‘body’ to it.
 Step 3: Drying
Following this step, the beans are then dried – often in the sunlight.
This stage can take up to eight days to fully complete (depending on the type of bean used) and is critical in developing the cacao flavour and reducing astringency.
During this process, the beans turn from a purple colour to a pink/reddish-brown, then on to a darker brown, and the the moisture content will reduce.
Step 4: Roasting
Roasting the beans is important as it develops flavour and kills any bacteria on the beans, and it helps separate the outer husk (shell) from the inner bean (cocoa nibs).
No matter how this is done, it tends to follow a similar technique: heating the beans at high temperature, then slowly reducing the temperature (to continue the roast without burning).
Before roasting the beans, you’ll first need to remove any beans that are broken and/or smell moldy, etc. Then, lay the beans in a single layer on parchment-lined oven tray/s. You can roast the beans whole; it's much easier to peel them after roasting.
Roast the beans in the oven at 120ºC fan-assisted for between 15-20 minutes for a fairly light roast.
The way you roast the beans will have a big impact on flavour and you can choose to do a light, medium, or dark roast. This is worth experimenting with and will need updating over time.
During the end of the roasting step (if roasting as whole beans), air pockets will escape the beans, making popping sounds – this is normal.
When they’re almost done, you may also smell a ‘brownie’-like smell.
The husk should also come off the beans more easily.
Step 5 : Cracking & Winnowing
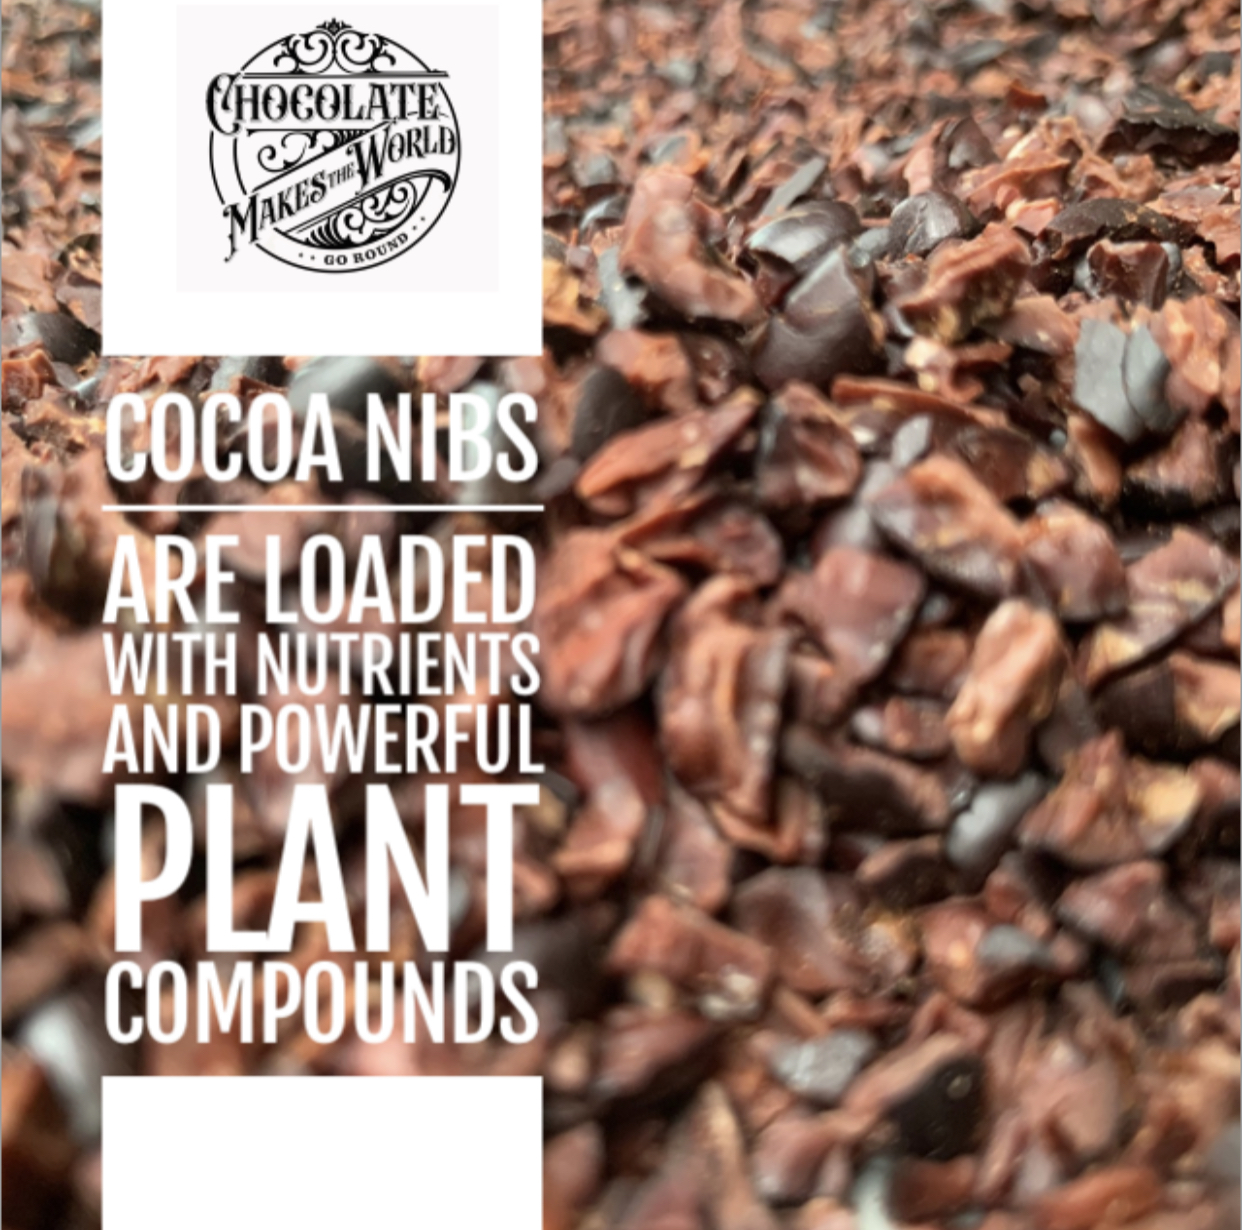
Cracking and winnowing of cocoa just means removing the cocoa bean from the shell to reveal the cacao nibs inside.
While large commercial chocolate manufacturers will do this process with machines, it can be done by hand.
There are several ways to do this, but pressing the beans between your fingers should be enough to loosen the shell. Do this with all of the beans, putting the shells in a separate bowl from the beans (nibs).
Next, break the beans down into individual nibs.
You can do this by hand or place all the beans into a bag and bash with a rolling pin.
These cocoa nibs can now be eaten as they are or further processed into chocolate.
 Step 6: Pre grind & conche
It’s a good idea to pre-grind the nibs into smaller pieces. You will end up with something that looks similar to cocoa powder, just with a higher fat content.
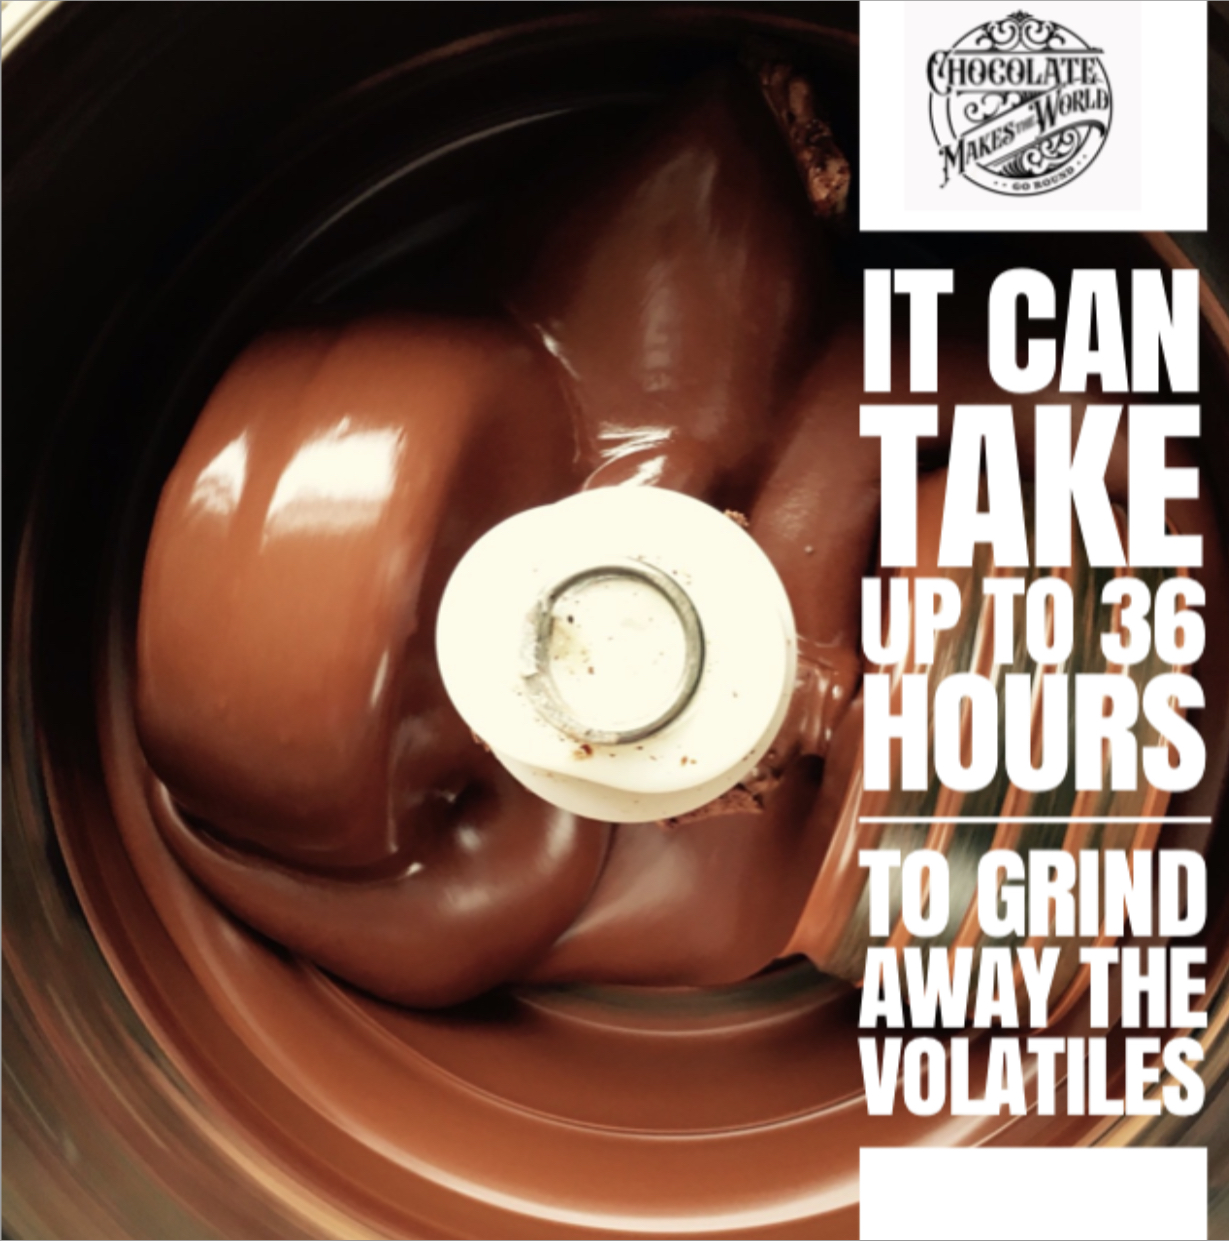
You can use this to create chocolate but you will need to add extra cocoa butter to further tweak the recipe. What you need next is a melangeur i.e., a wet stone grinde, to grind the cocoa nibs into a paste called chocolate liquor before undergoing a process called ‘conching.’
This step removes certain unwanted ‘volatiles’ (such as acetic acid) in the mixture as it heats and leads to evaporation and distillation of these elements. It also helps to coat the cocoa solids with fat to reduce the viscosity of the molten chocolate. This process is also important for developing flavour. Higher quality chocolate often is conched longer for a richer, milder taste and smooth mouthfeel.
Add the pre-ground nibs to the melangeur (grinder) gradually and run for 24 hours.
Add additional cocoa butter (about 6%); the extra butter will help with consistency for a smoother, creamier, glossier texture. Don’t add more than 10% of the total chocolate weight, though (i.e., 10g per 100g bar chocolate).
Taste the chocolate every 5-10 minutes. When you are happy with the flavour, the chocolate is ready for the next step.
Note: If you’ve made a small batch of chocolate (around 500g), you can conch it using a stand mixer with the paddle attachment. Beat it on low speed for around an hour.
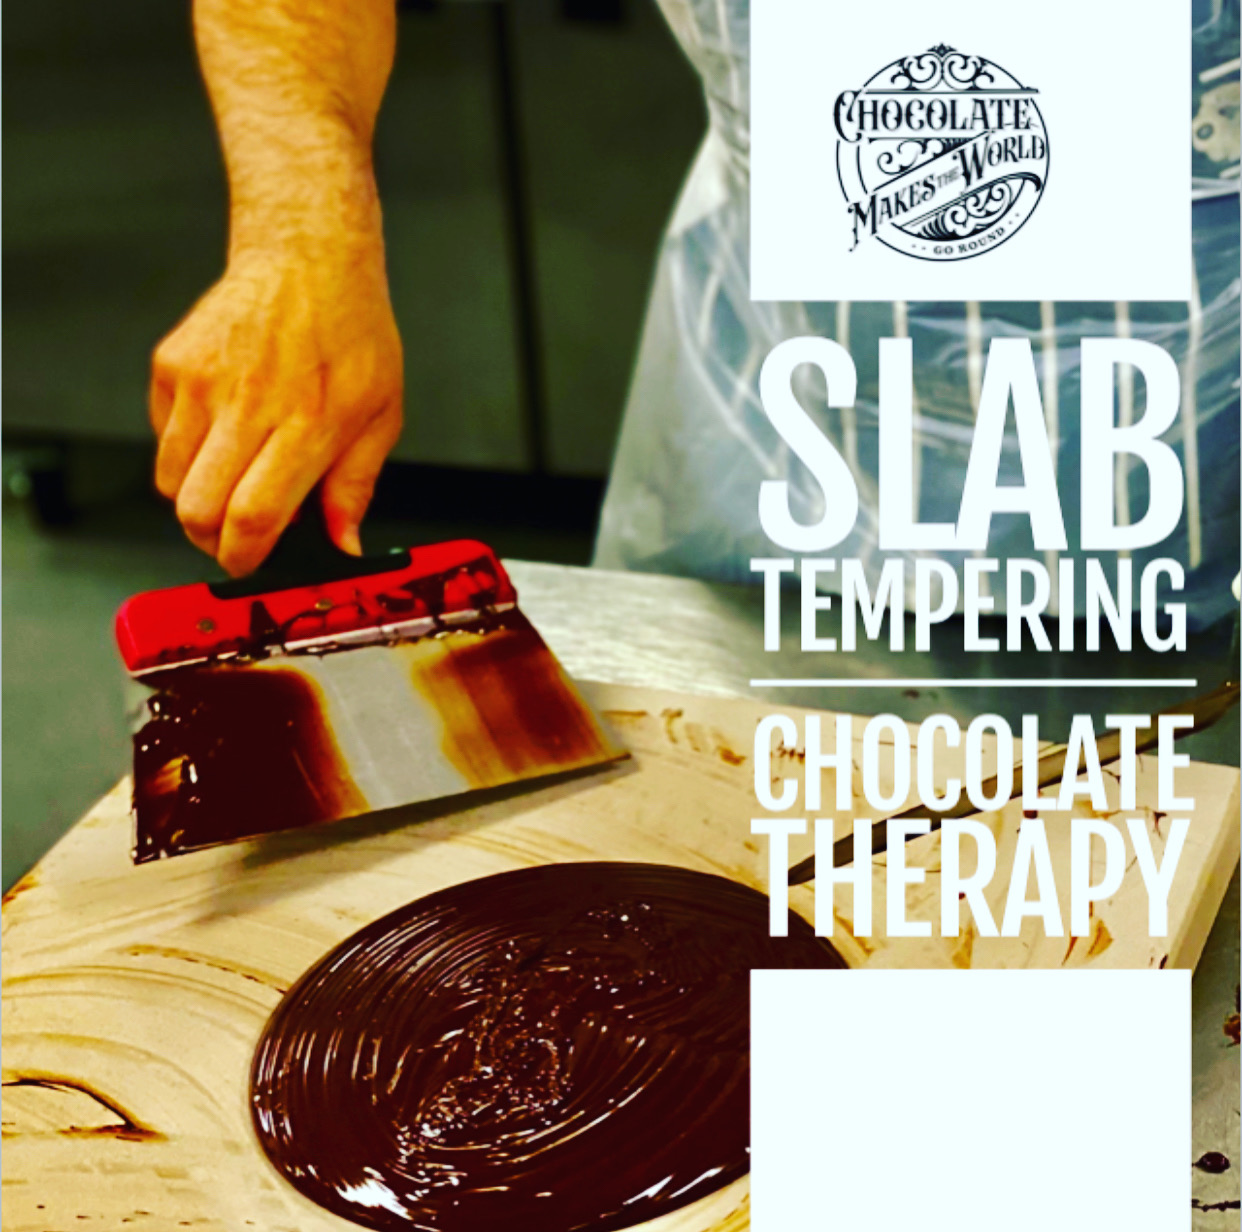 Step 7: Tempering
Tempering chocolate is the process of strategically raising and lowering the temperature of the chocolate to form a specific crystal structure. Once tempered, this yields shiny, glossy, snappable chocolate that holds it's shape at room temperature.
You can also mould the chocolate for now and temper it at a different time.
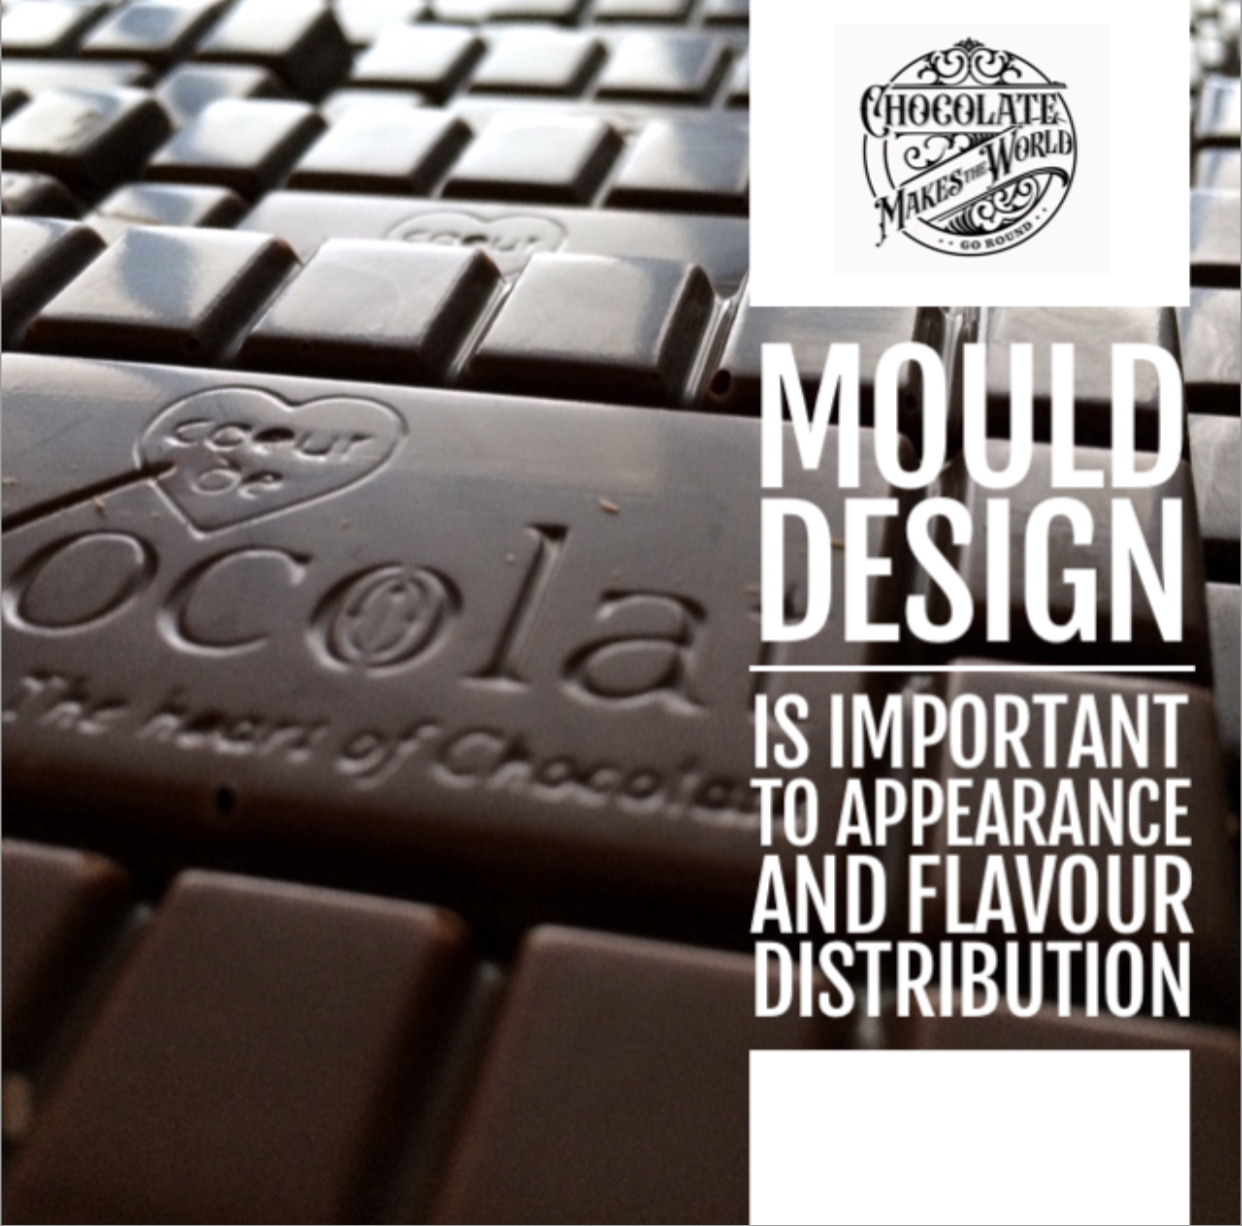
Step 8: Moulding
Finally, it’s time to pour the chocolate into your mould of choice to set it into the final chocolate product.
Pour the prepared chocolate into your mold of choice, tapping it against your kitchen counter to remove any air bubbles and help it settle.
 Allow the chocolate to set fully (best done at room temperature) before de-molding and wrapping.
Polycarbonate moulds work best. To prepare polycarbonate molds it’s best to use cotton balls and a fat-soluble sanitiser.
Water can leave marks and a sponge can create micro scratches that will affect the shine.

Step 9: Packaging
The final step is wrapping-often the last consideration, but shouldn’t be, it’s vitally important.
First of all, it protects the product you have worked so hard to craft, and secondly we all buy with our eyes, so design, colour, and copy are all vital.