
 Winter can be dull and drab but it's also the season that we get brightly coloured tangy flavoured citrus fruit like lemons, limes oranges, kumquats and lots of herbs and blossoms. they can bring a rainbow of colour into the darkest days, and can easily be dehydrated, to use all year round. So when my good friend asked if I would like play with his new dehydrator? i jumped at the chance.
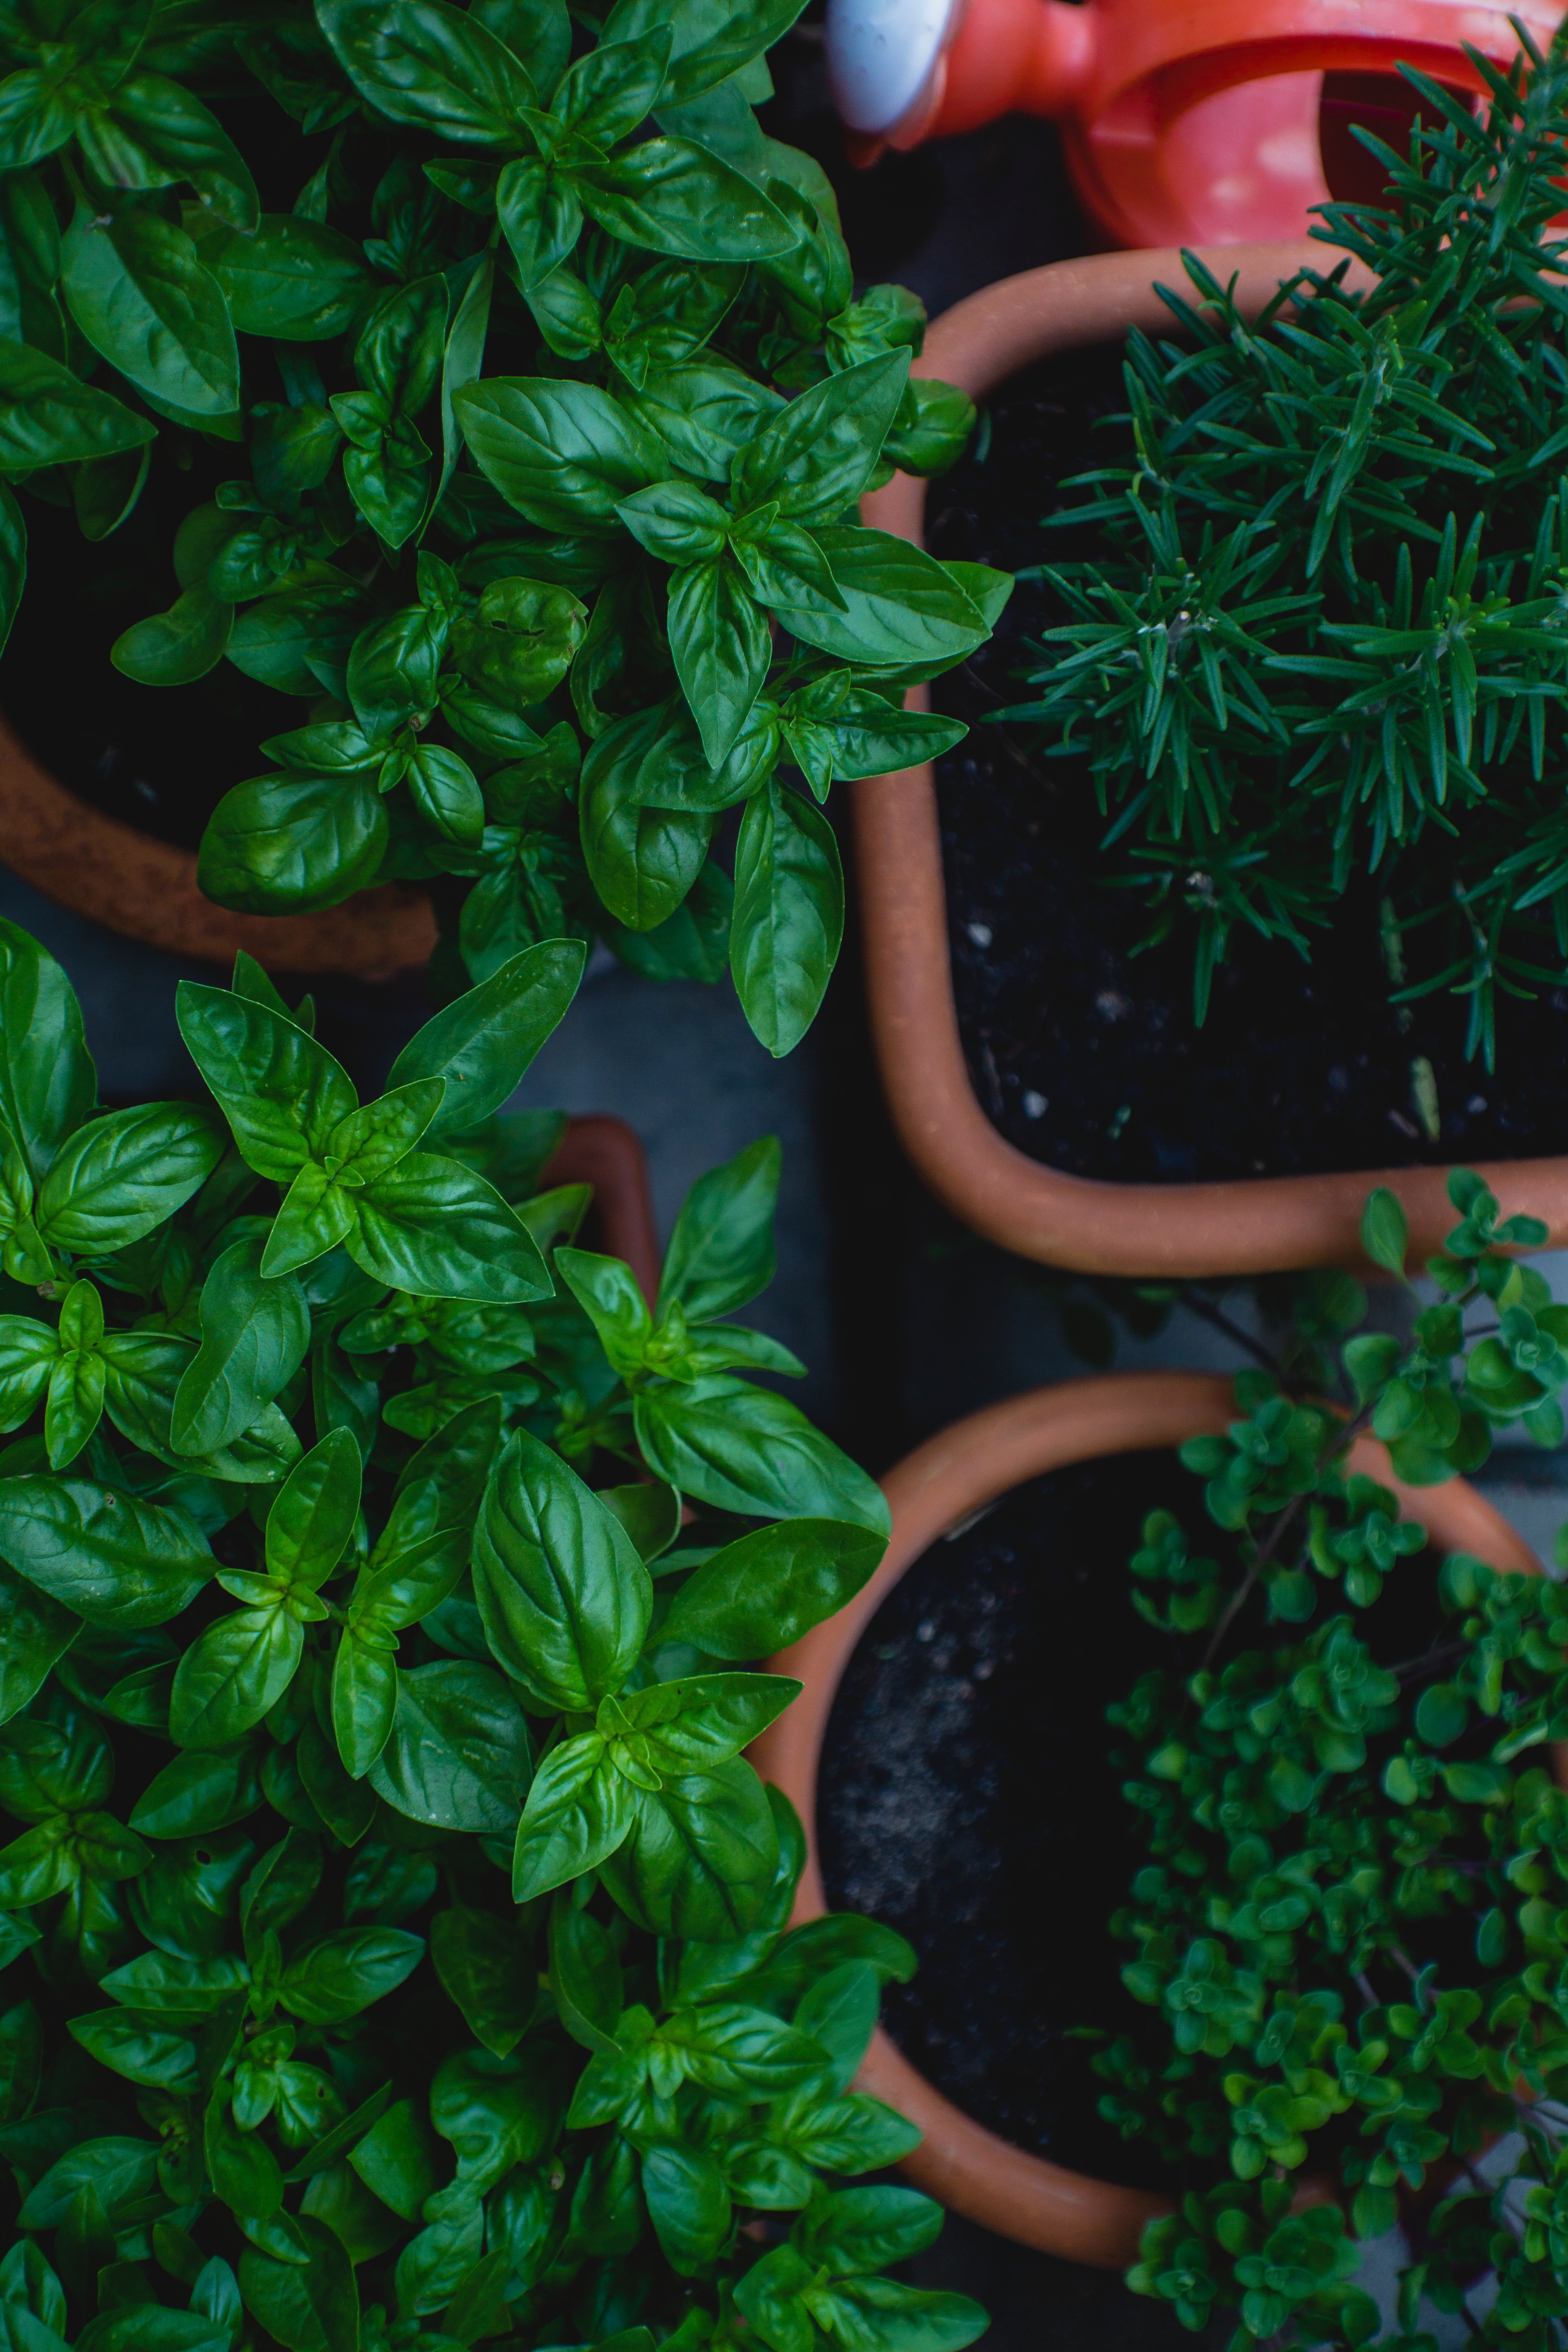
First a little background Introduction to Drying Herbs
We know the flavour of herbs comes from oils in the cell walls of plant. Leaves, flowers, stems, and seeds can all be dried and used later.
low heat, low humidity, and a little air movement are needed to dry herbs.
There are several methods we can use, air-drying, seed harvesting, dehydrators, and microwave drying. (Sun drying and oven drying have limitations).
When to Harvest Herbs
Most herbs are best for drying just before the flowers first open.
Young leaves at the tip of the plant have a concentrated flavour.
Herbs in flower can taste bitter.
Herbs have more of their essential oils if harvested on a sunny day in mid-morning after the dew has evaporated.
Use scissors to cut the stems just above a leaf or pair of leaves. Leave 6 to 8cm of stem for later growth.
Harvest seeds when mature.
 Preparing Herbs for Drying
Remove any bruised or imperfect leaves and stems. Inspect plants, especially seeds, for insects.
Rinse the stems in cool water and gently shake to remove excess moisture. Then gently pat dry with a paper towel. Remove as much moisture as possible.
Methods of Drying Herbs
Less tender herbs such as sage, rosemary and thyme, are the easiest to dry. They can be tied into small bundles and air-dried. Tender-leafy herbs like basil, tarragon, lemon balm, and the mints have a high moisture content and will mould if not dried quickly.
Air-Drying
For air-drying the humidity has to be 60% or lower with good air circulation must be available. Stems of herbs such as mint, sage, or thyme can be tied in a small cluster and hung in a dry area with good air circulation. If you use a rubber band to tie them, it will tighten as the stems dry and stems will not fall out of the cluster. Clusters of dried herbs may look attractive decorating a kitchen or fireplace, but care must be taken to avoid humidity and dust. Hang herbs away from the sink, stove, or dishwasher where there is a lot of moisture. Keep dust off herbs by covering them with a paper bag punched with holes. The holes will allow air to circulate. If drying seedy herbs, place them in the bag so that the bag can catch the falling seeds. When drying leafy herbs, place the bag over the herbs as a dust shield.
Herbs with small leaves can be laid out on a fine stainless steel or food-safe plastic screen or paper towels to air-dry. When dried, just strip the leaves from the stem to store. For herbs with larger leaves, remove the leaves from the stems and lay them on screens or paper towels without allowing the leaves to touch. Up to five layers of herbs and paper towels can be dried by this method. It may be necessary to change paper towels as they absorb moisture from the herbs.
Microwave Drying
Parsley, basil, and celery leaves dry well in some 700w low power microwave ovens. A microwave oven with a wattage rating of 1,000 or higher will heat too fast to use this method.
Arrange washed and dried herbs one layer thick between microwave-safe paper towels. The length of time will depend on the number of herbs and the power level of the microwave oven. Microwave on high for 2 to 3 minutes. Start with 1 minute, mix after every 30 seconds, and continue checking for dryness. Remove from oven; cool. Rub between paper towels to crumble or wait to crumble until ready to use. Repeat with remaining herbs. Caution: Watch carefully! If there is not adequate volume, the paper towels will catch fire.
Seed Harvesting
The seeds of dill, caraway, mustard, and fennel can be left on the plant until mature. Cut flower stalks or pull entire plant from the ground, hang upside down, and shake seeds out when dry. Examine seeds for insects. Husks can be removed from seeds by rubbing the seeds between the hands and blowing away the chaff. Check for insects and treat dried seeds as described under “Treatment of Air-Dried Herbs and Seeds” below.
Oven Drying and Sun Drying
Oven drying is hard work and not generally recommended because even the lowest temperature destroys much of the flavour, oils, and colour of the herbs.
To oven dry, set the oven at the lowest temperature (not above 82°C) for 3 to 4 hours with the oven door open. The oven light in some ovens may provide enough heat to dry herbs.
Sun drying is not recommended in Europe because high humidity levels prevent the quick removal of moisture.
Testing for Dryness
Make sure herbs are completely dry to prevent mold growth during storage. Herbs are sufficiently dry when leaves are crispy and crumble easily between the fingers.
Treatment of Air-Dried Herbs and Seeds
Herbs that have been air-dried and seeds need to be treated to destroy any insects or insect eggs by heating the herbs or seeds at 70°C for 30 minutes or freezing at 0°C or lower at least 48 hours. (The heat method will reduce the flavour and is not suitable for seeds that you want for planting.)
Dehydrator
Herbs can be dried in a dehydrator if the temperature can be set between 35 and 43°C. Place stems on drying trays so they do not touch. Larger leaves can be dried separately. Don’t dry herbs with fruits or vegetables because the flavours may mix and the moisture contents are different.
Storing Home-Dried Herbs
Your herbs have finished drying when you can crumble them easily, but don’t crumble them all! Whole leaves and seeds retain oils better in storage than crumbled herbs. Still, having some pre-mixed spice blends — such as those for Italian, Mexican or barbecue dishes — can be a big timesaver.
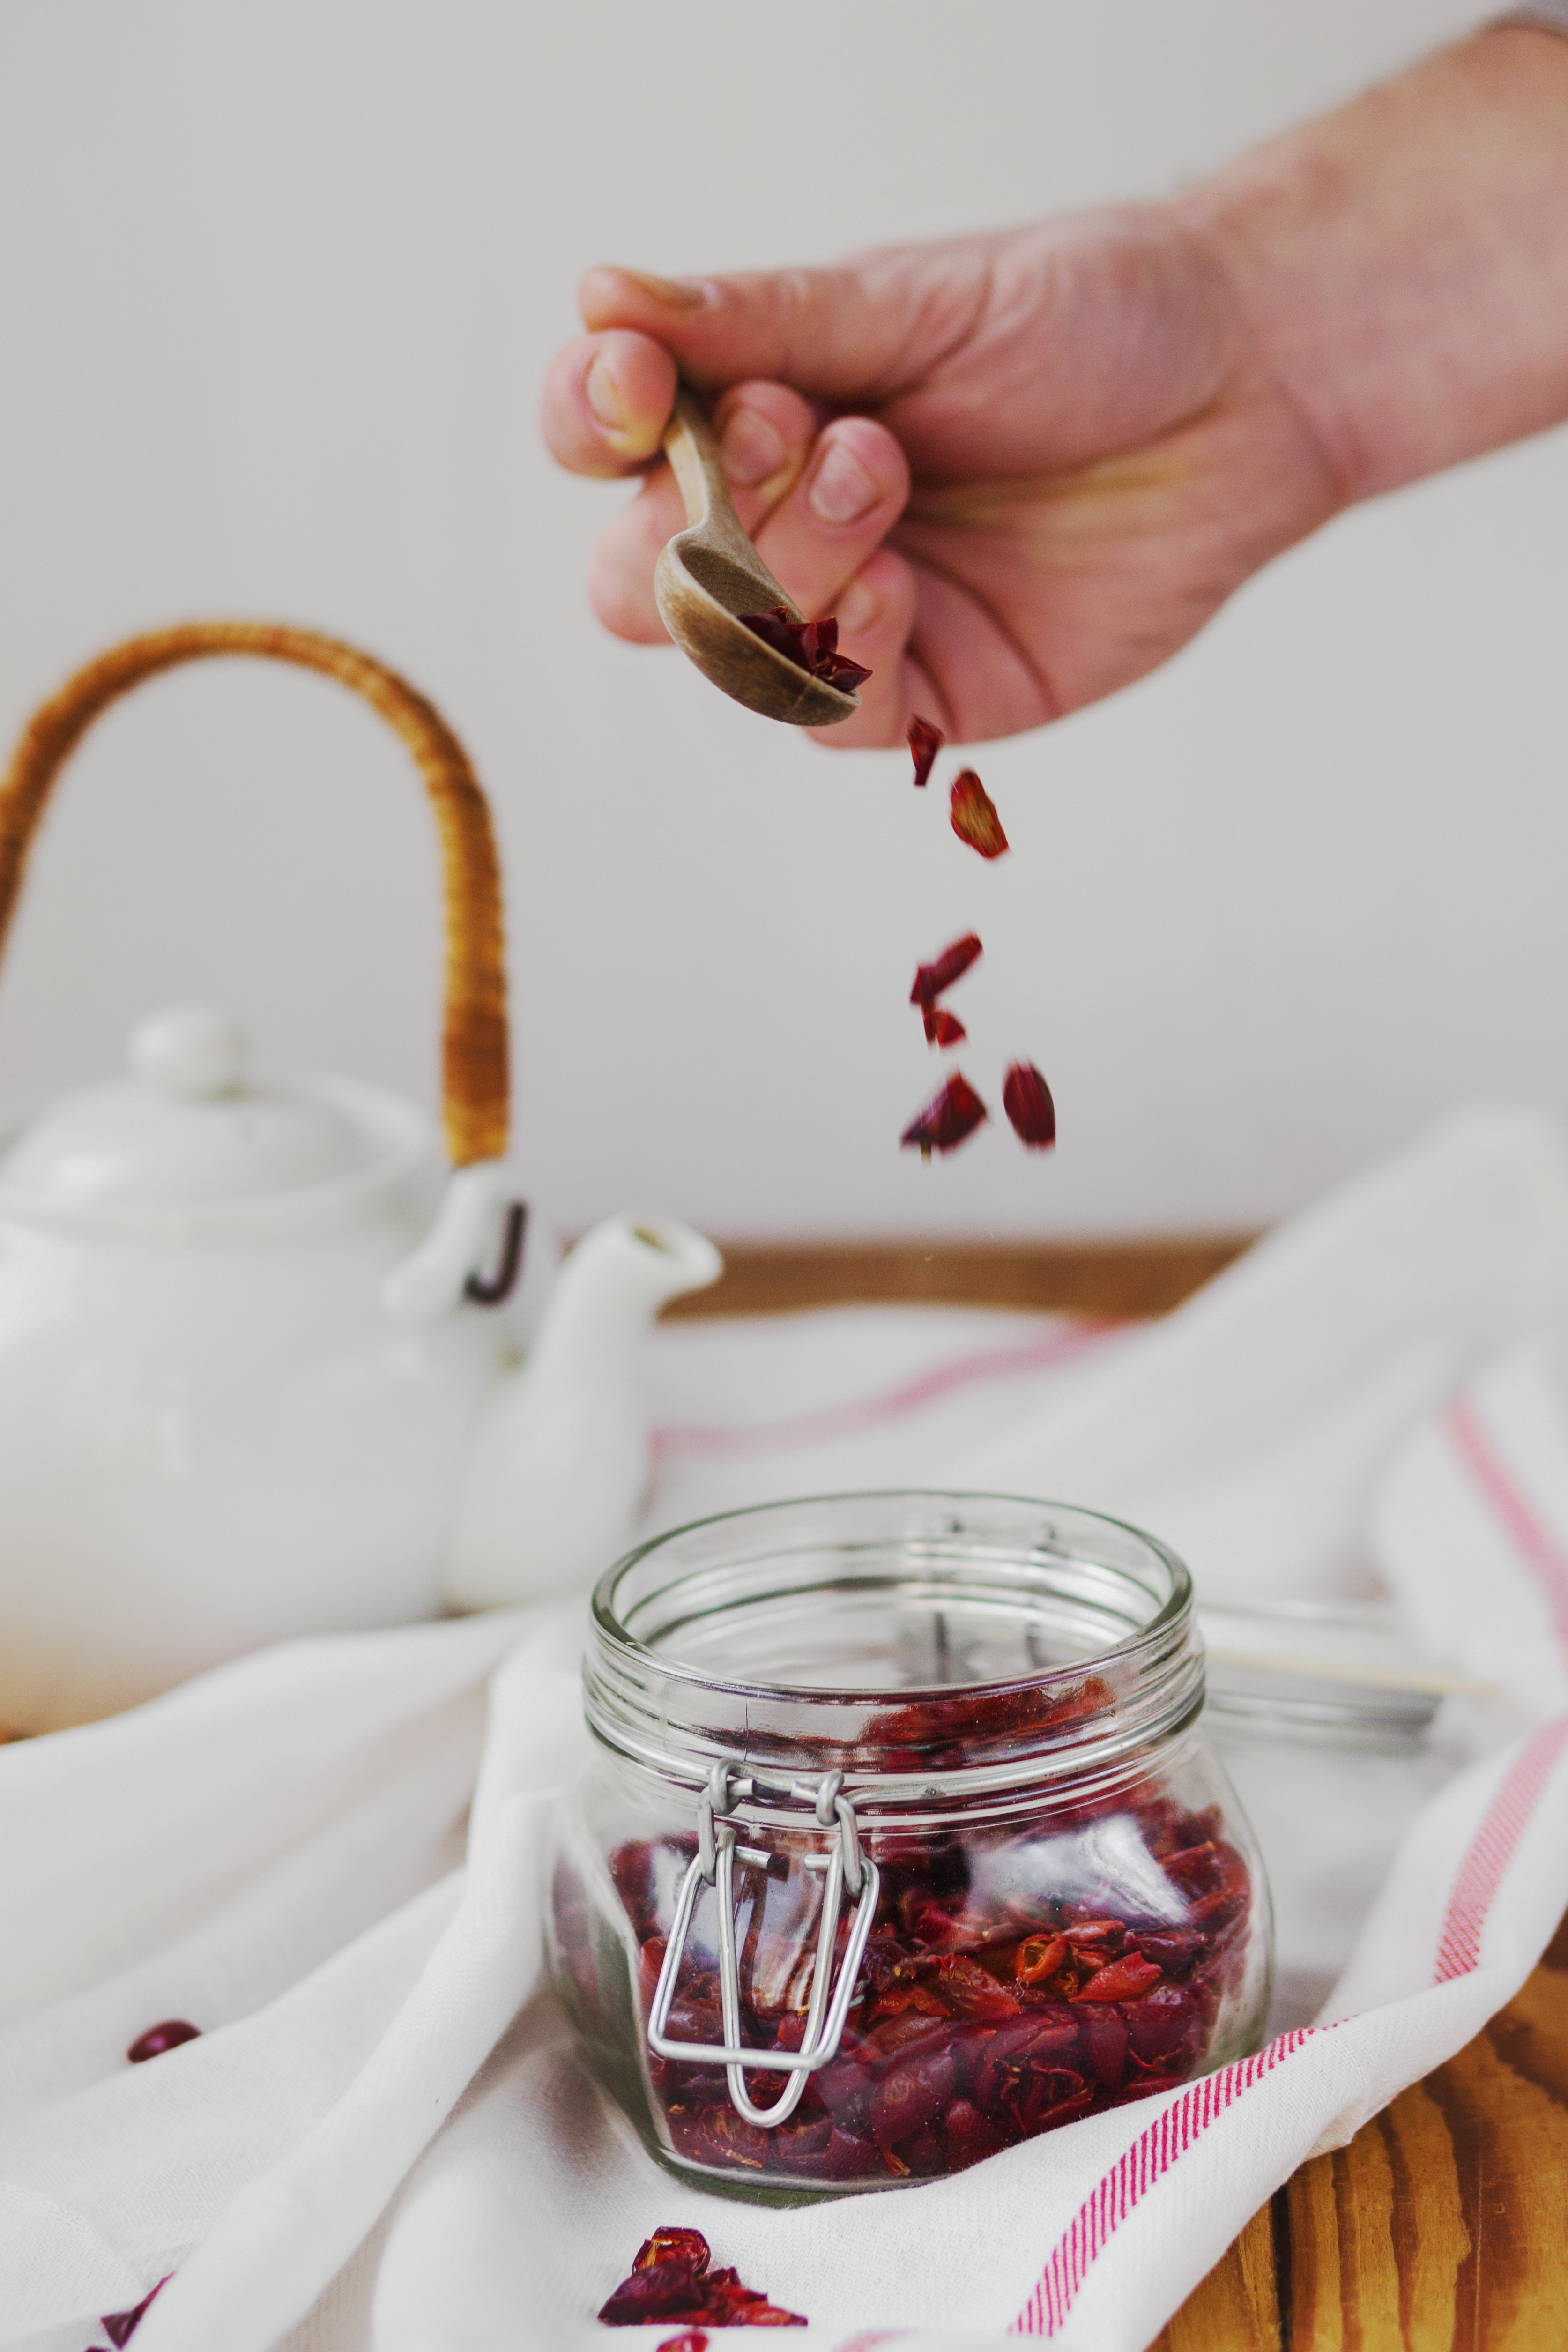
Use a mortar and pestle to grind the ingredients. Tea blends are also useful, such as a combination of peppermint and fennel to calm an upset stomach. Store dried herbs in airtight jars out of direct light and away from high heat.
Always label jars immediately with the date and contents. If you grew a particular variety, be sure to include its name so you can pinpoint your favorites over time.
Check new jars for droplets of moisture or mold. Throw out anything moldy, and redry anything that created moisture in the jar.
When using dried herbs in recipes that call for fresh, keep in mind that oils in dried herbs are more concentrated. Use about half the amount of dried herbs in a recipe calling for fresh herbs, and about a quarter as much if the dried herb has been finely ground. To use herbs in teas, pour boiling water over a teaspoon to a tablespoon of the dried herb, or more to taste, and steep for 5 to 10 minutes.
first i got the most readley available fruit here which is oranges.
How to do it
I sliced the oranges into 1/4-inch-thick rings, and deseeded.
Arrange the slices on the dehydrator trays and set the heat to about 60 °C the low heat helps preserve the citrus oil in the rind and with the oil comes the flavour.
Dehydration Time
The time it takes to dry the fruit depends on the size and thickness of your slices. Small wheels of kumquats might take only two to three hours, whereas grapefruit could take more than 12 hours.
We are looking for the wheels to be dry but still pliable. The flesh should be slightly tacky, but not moist.
The pith should be spongy and may curl slightly.
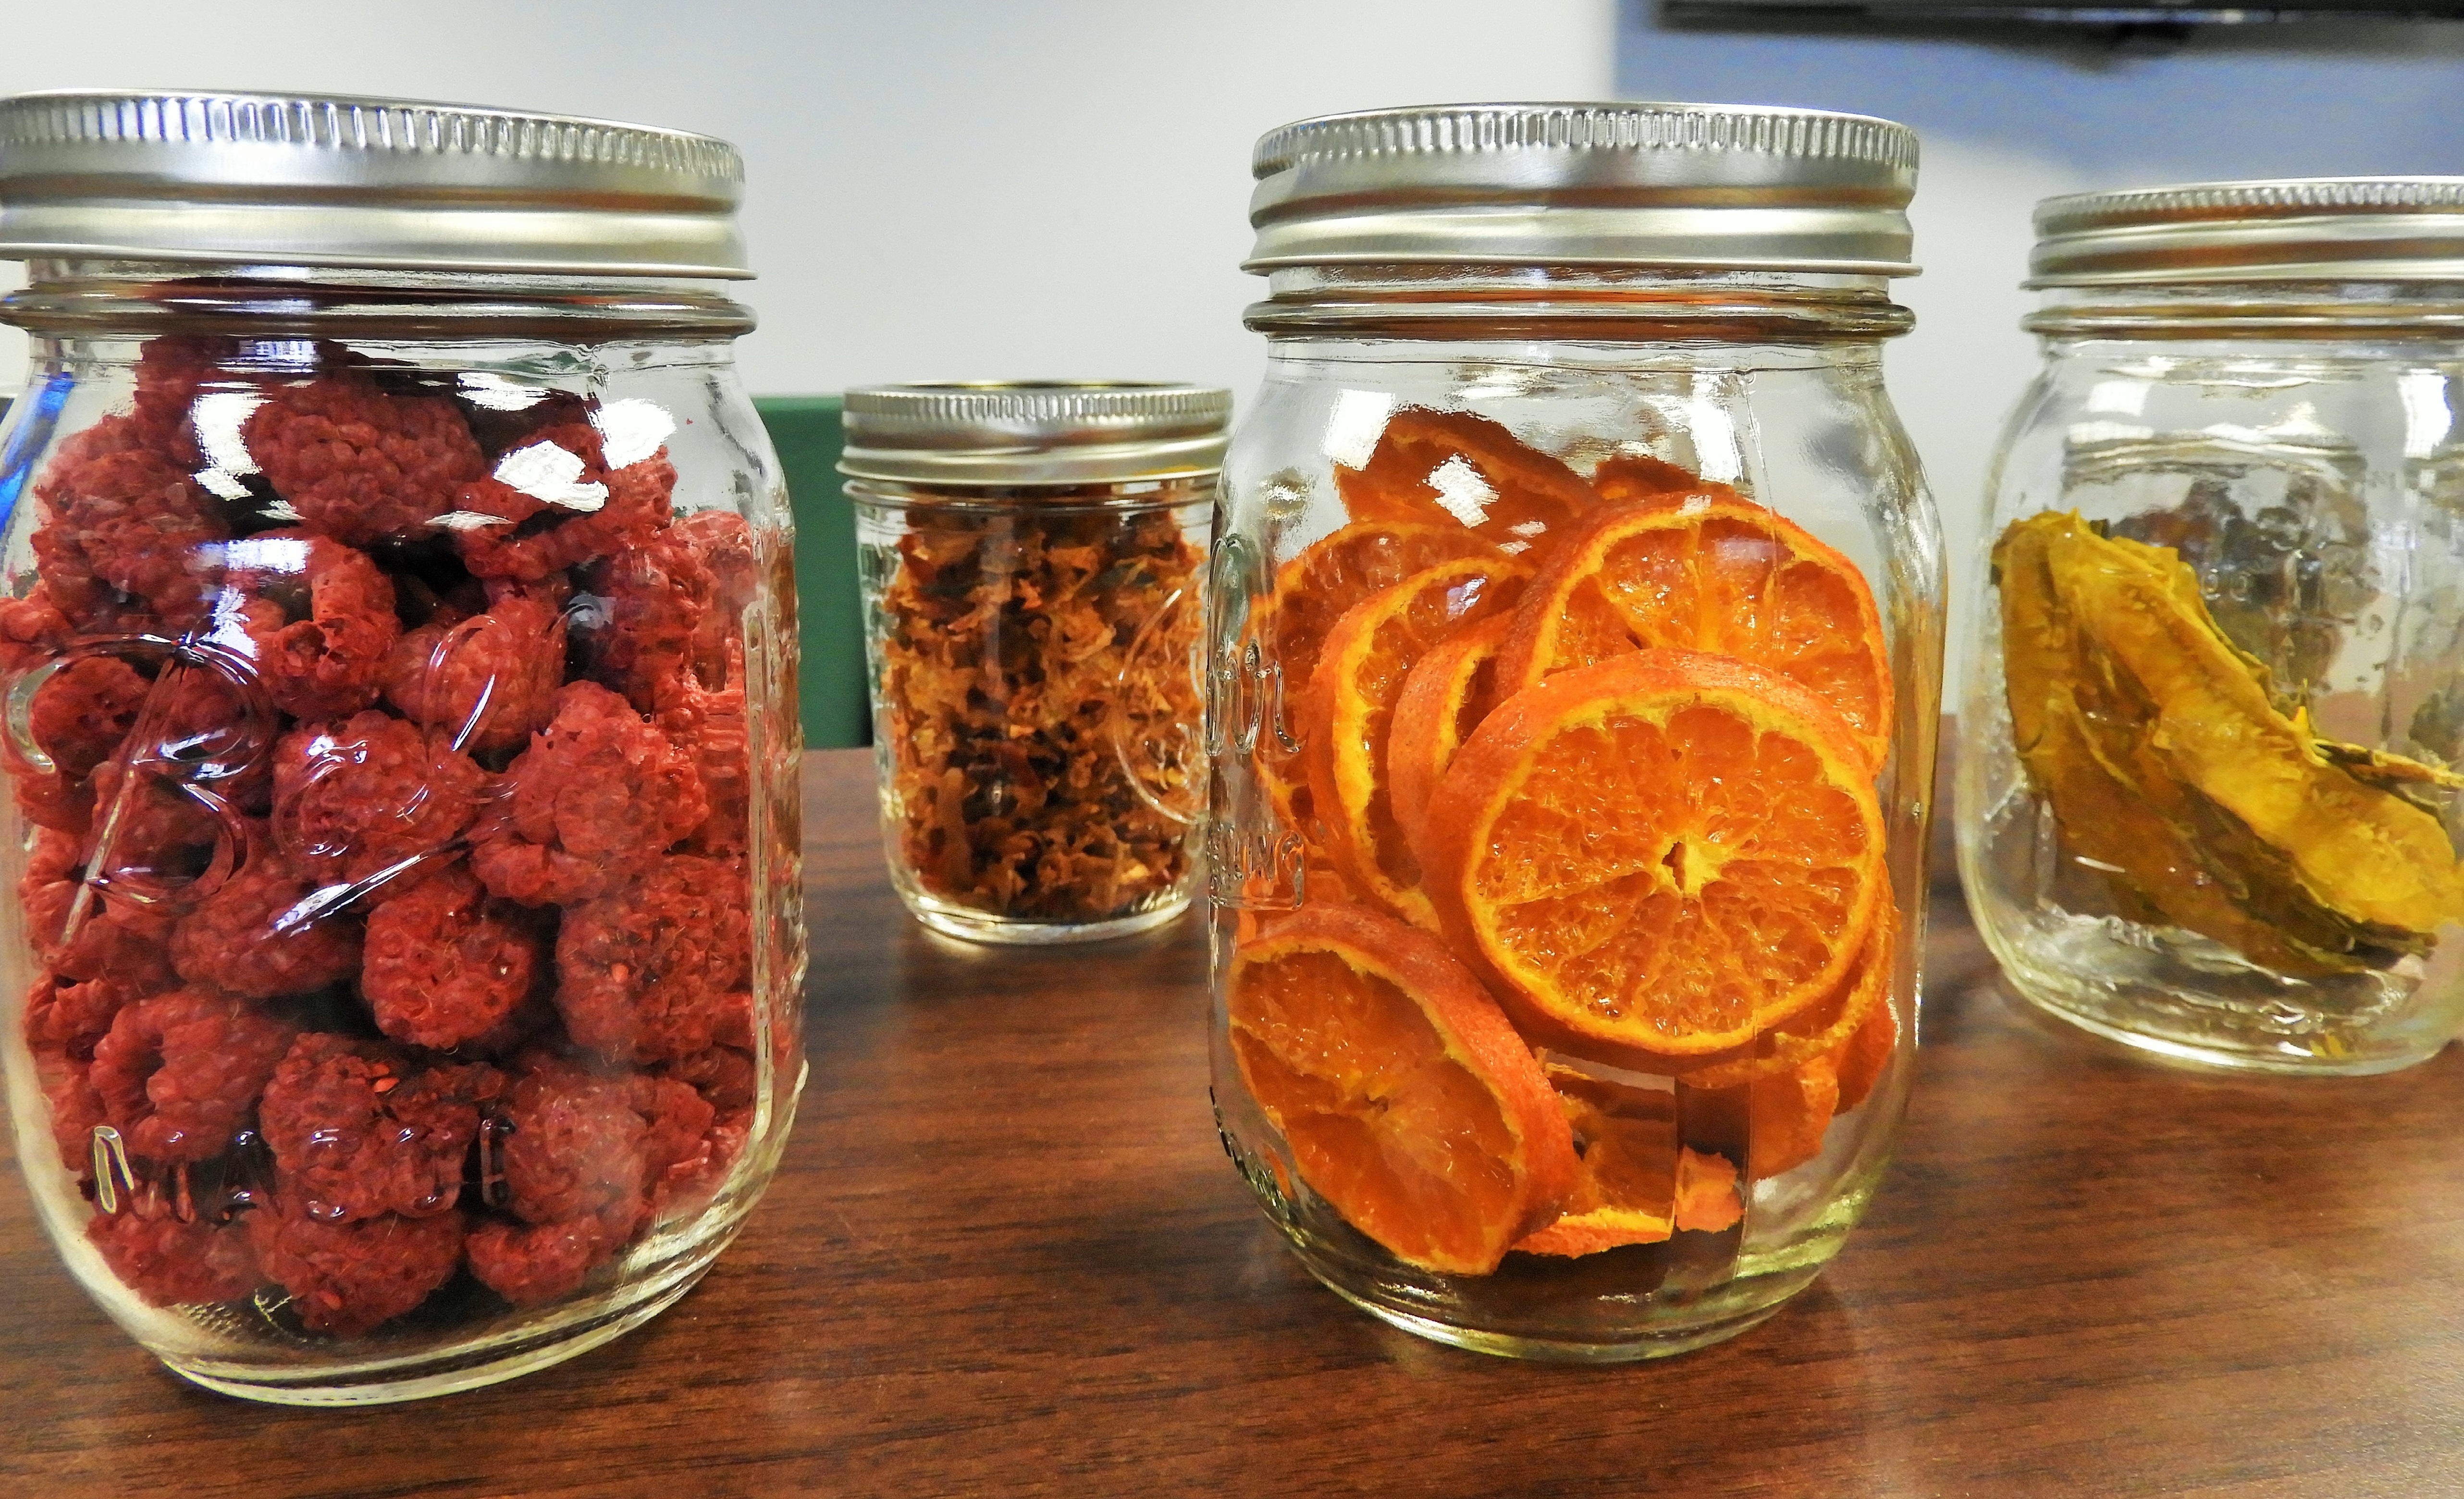
Allow the slices to cool to room temperature before storing them in airtight containers with tight-fitting lids. Keep your containers in a cool dark place to preserve the colour of the fruit
Uses
Panning in chocolate
Snacks and travel food
Fruit tea /water
Garnishes
Grind into powder and use to flavour chocolates soups, stews, roll truffles in ect.
Top Fruits to dry
 Apples
Dehydrating sweet and juicy apples means that you will have apples at any time of the year. For a simple snack, try dipping your dehydrated apple slices into salted caramel sauce.
Apricots
Apricots are very tasty when dehydrated – Dehydrated apricots also make the perfect on-the-go snack!
Strawberries
Strawberries are sweet and they are unbelievably tasty when dehydrated. Throw your dehydrated strawberries into smoothies and trail mixes, or coat in white chocolate
Raspberries
Raspberries are one of my favourite fruits, so choosing between raspberries and strawberries is incredibly difficult!
Blueberries
Bursting with antioxidants, blueberries are perfect to throw into the dehydrator. Dehydrated blueberries are also crunchy and super sweet!
Cherries
If you are organizing a cook out, add a few dehydrated cherries to the drinks that you serve. You could also drop dehydrated cherries into scones.
Peaches
By adding water, you can rehydrated fruit to its original state. Simply pimp up with water, sprinkle of cinnamon and enjoy!
Bananas
Boost energy levels by snacking on crunchy dehydrated banana! Slice a banana thinly and place in the dehydrator – once dried, you will have banana chips to snack on throughout the day!
Tomatoes
Tomatoes taste amazing, and you can do so much with them. Grind down your dehydrated tomatoes into powder and go crazy making homemade ketchup and tomato puree!
 Chilli
dried chilli chocolate is amazing, Grind down your dehydrated chilli into a powder and go crazy!
try drying blossoms too Click here